Our Platform will automatically resize any uploaded images to suit the page or section you are working on.
Whenever you upload an image to our Platform you will be able to access the Advanced image options, should you wish to make any changes to your image.
Once you click onto the Advanced image options, a drop down will appear to introduce three different sections. This article relates to the Basic options tab. Please return to our Help Centre for articles relating to Overlay text and Overlay options.
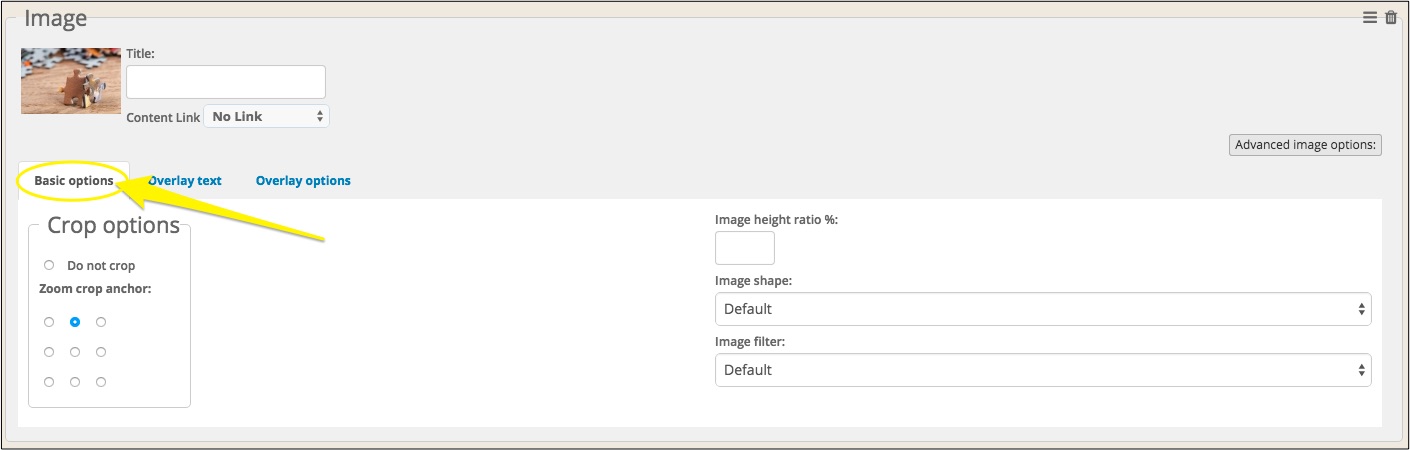
1. Basic options: Crop options
If you would like to focus in on one particular part of any image then our Crop options will help. It allows you to select the Zoom focal point or whereabouts, in your image, you would like to focus on.
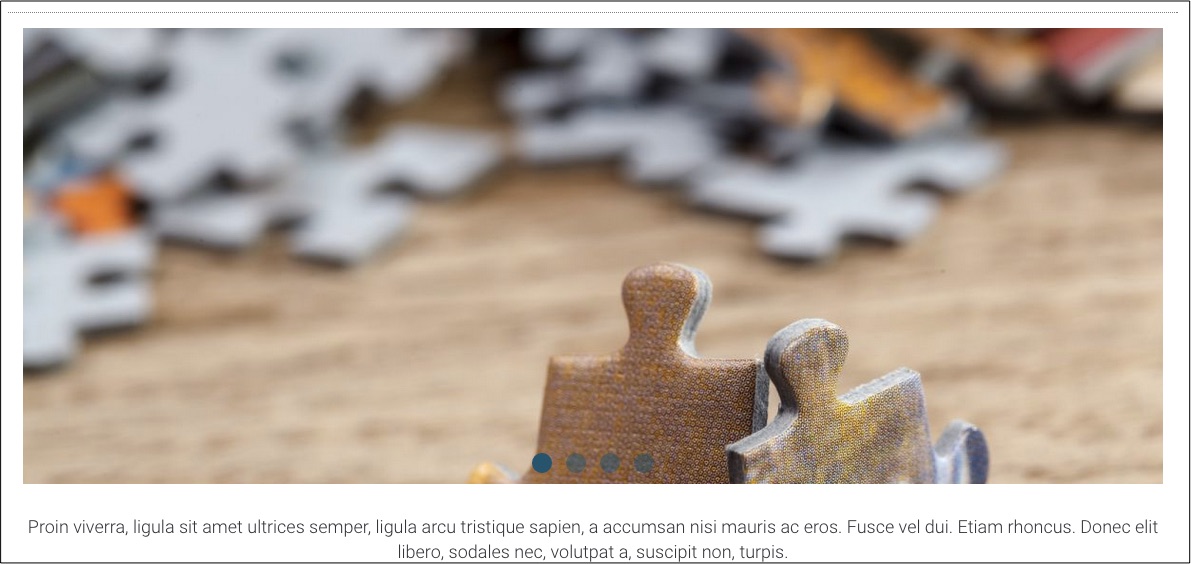
By way of an example, please see below a test image uploaded to the homepage of our workshop. As you'll see, our automatic resize has cropped the image in such a way that we lose the bottom of the puzzle pieces.
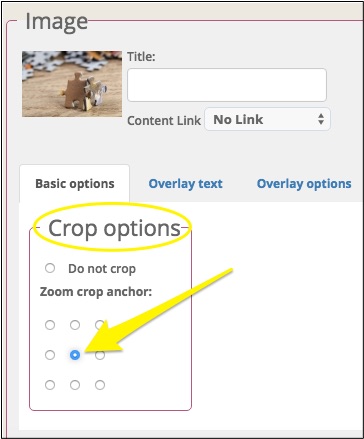
Let's change our Focal point to the middle of the image.
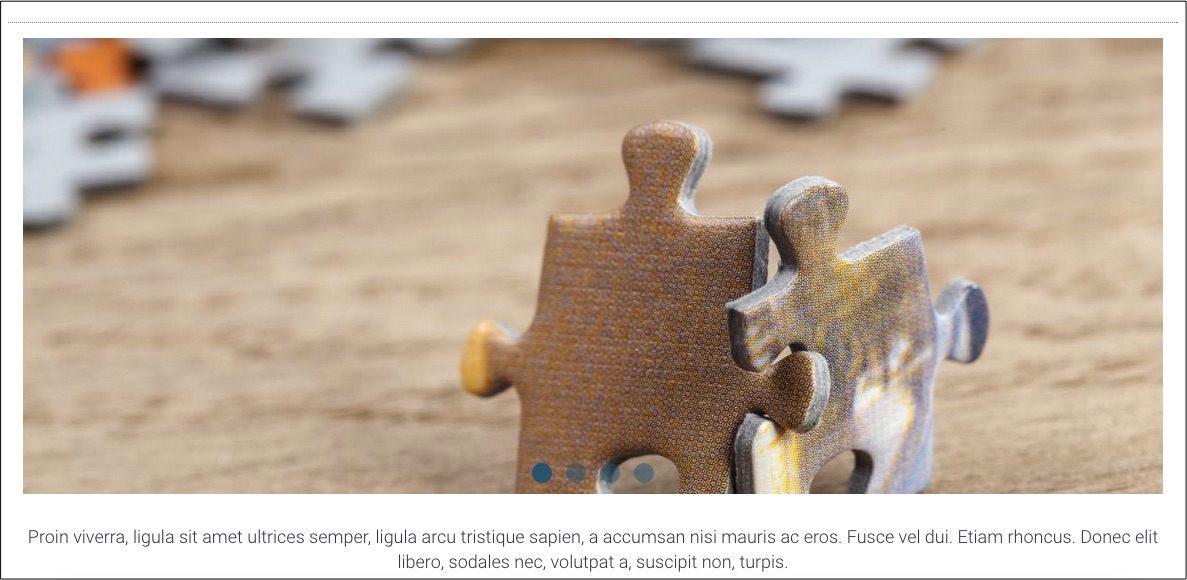
By applying this change you can see how the image has now shifted up and the puzzle pieces are more in view, and fit better to the area available.
2. Basic options: Image height ratio %
The image height ratio (IHR) will be automatically set by any design you choose. The IHR effectively controls how high the space available is and can be altered if so desired.
A square image would be set at 100%.
If you would like to create a space that is similar to that of a photo (i.e. 6" x 4") then you will need to reduce this ratio to 66%, which will in turn reduce the height and create the rectangular shape you desire.
Changing the IHR is most useful when you introduce portrait images to your workshop. Typically, we would suggest using landscape images wherever possible, as they complement a computer/tablet screen best. If, however, you use a portrait image then you can use the IHR to increase the height of the box available, and so removing any of the white padding you may see around the image when you first import it, and that our template may apply.
If you do change the IHR, just be aware that within a gallery or grid the images may look a bit uneven and messy. Altering the IHR is only recommended when you have a standalone image and one that won't then stand out and look odd against other images of a different size.
If you then wish to change the shape of your image to be a circle then do remember to set your IHR to be 100% and create a square image first, otherwise you will find that selecting a circular shape will only give you an oval, as you won't have the height needed.
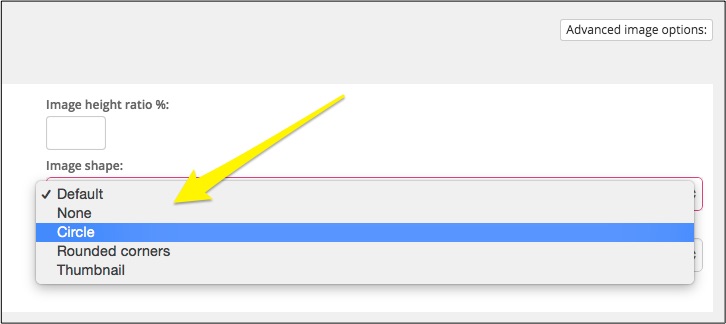
3. Basic options: Image shape
If you wish to change the shape of your image then simply click into the Image shape option.

A drop down list will appear and you can select which best fits your image, and website.
4. Basic options: Image filter

0 Comments